So, you need to know how to repair your power armor in Fallout 4? Well, pat yourself on the back because you’ve managed to track down the power armor and acquire enough Fusion Cores to run it. Now to progress you’ll need to know how to fix it. The only problem with the protective suit is that it’s not an infinitely strong protective layer. It’ll wear out and need repairing from time to time.
You’ll end up running into some devilishly powerful beasts out in the wasteland so you’ll need your armor in tip top condition if you’re to come out of the battle unscathed. It doesn’t matter if you run into a Super Mutant Suicider or a Dusky Yao Guai they’re pretty much guaranteed to do some sort of damage or destroy some parts of your Power Armor completely.
If you’re unfortunate enough to need to repair your awesome suit, the good news is, it’s fairly simple. I’ve created this super quick guide on how to repair Power Armor in Fallout 4. You’ll definitely need to remember this one, you’ll be repairing it lots and lots of times through your Fallout 4 play-through. There’s also a video should you need some visual reference pointers.
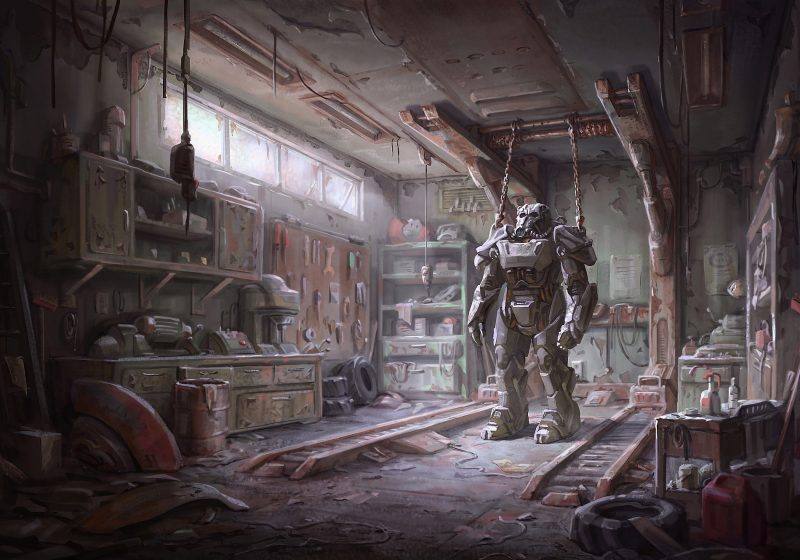
The key to repairing your Power Armor is to get to yourself over to a Power Armor Station. You’ll be able to find these stations in loads of locations and settlements. There’s also plenty of garages and bases to be on the look out for as these will more often than not contain these all important yellow repair stations.
Keep your eyes peeled at the start of the game because you’ll have one from the get go. It’s located in the garage at Red Rocket which is just south of the Sanctuary and that’s where you’ll need to go to repair your suit.
Before we move on to the guide, if you don’t have Fallout 4 (what are you reading this for!) you can pick it up from Amazon, hit the link here to check out the latest deals.

Fallout 4 How To Repair Power Armor Pieces
Once you arrive at the station you’ll need to exit your armor, if you’re not familiar with how to do this then make sure you check out or simple how to exit your power armor guide. Once you’ve stepped out of it you’ll then be able to walk up to the Power Armor station. Once in front of the station some options will appear on screen. Select the button that activates “Craft”.
To press the craft option on different systems:
- ‘A’ on Xbox
- ‘X’ on PS4
- ‘E’ on PC
Once you’ve loaded up the craft menu you can repair the individual items that are damaged. Simply scroll through the menu and check out the damaged parts. The health bar for each piece is displayed on the left hand side of your screen. Once you’ve found one you wish to repair simply push the repair button.
To press the repair option on different systems:
- ‘Y’ on Xbox
- ‘Triangle’ on PS4
- ‘T’ on PC
Repairing an item isn’t ‘free’ though. You’ll need to have a few different resources at your disposal to ‘pay’ for the repair so to speak. Essentially you need some basic raw materials that’ll be used to fix the damage. Different pieces require different resources depending on which item you wish to repair.
So what will you need? Well firstly, you’ll need plenty of spare steel. For some other repairs you’ll need to get a hold of some circuitry and other rare stuff. If you’re struggling to get a hold of the parts you need such as copper, circuitry, crystal and glass then panic no more because they’re alot easier to find than the game would have you believe.
For example hot plates are really common, you’ll find them in almost every kitchen and dwelling that you come cross. These pretty useless hot plates contain a shed load of copper! Make sure you grab as many as you can and collect the copper they contain.
Circuitry is somewhat harder to locate but if you think about it logically, then the best place to get find some circuitry is in destroyed turrets. You’ll find destroyed turrets scattered about the game, particularly around Diamond City. Also, keep an eye out for them whilst your on missions. You’ll also be able to find oil in discarded gas canisters.
Other rare resources, like crystal and even glass can be found by picking up glass bottles, cameras and even light bulbs.
Once you have the required bits and pieces go ahead and activate the repair and the selected Power Armor part should be spick and span, it’ll be as good as new. Now you’re fully back in the game, feeling confident with your fully working armor suit you’ll be able to start wandering the wasteland once more.
Don’t forget to continually stock up on spare parts as once that Ancient Behemoth gets your scent, you’ll won’t stand a chance of making it out of that fight unscathed. it’s back to the repair shop for you!
Repair Armor [Video]
Want More Gaming Content?
Liked our Power Armour Repair Guide? What are you waiting for, go and get that armor fixed then! And when you’re done, be sure to come back to check out our gaming page for more guides like this or you can find reviews and opinion pieces.
You can also see reviews on the latest gaming tech on our tech page so make sure you’re taking a look.
Disclosure:
The Amazon links in this article are affiliate links. This means that if you go onto buy something from Amazon after clicking on them we may get a small commission. It won’t cost you anything extra but it helps us pay towards the running costs of the blog. It allows us to bring you great content! Thank you so much for your support.
CodeWithMike is a participant in the Amazon Services LLC Associates Program, an affiliate advertising program designed to provide a means for sites to earn advertising fees by advertising and linking to www.amazon.co.uk.
CodeWithMike is a participant in the Amazon Services LLC Associates Program, an affiliate advertising program designed to provide a means for sites to earn advertising fees by advertising and linking to www.amazon.com